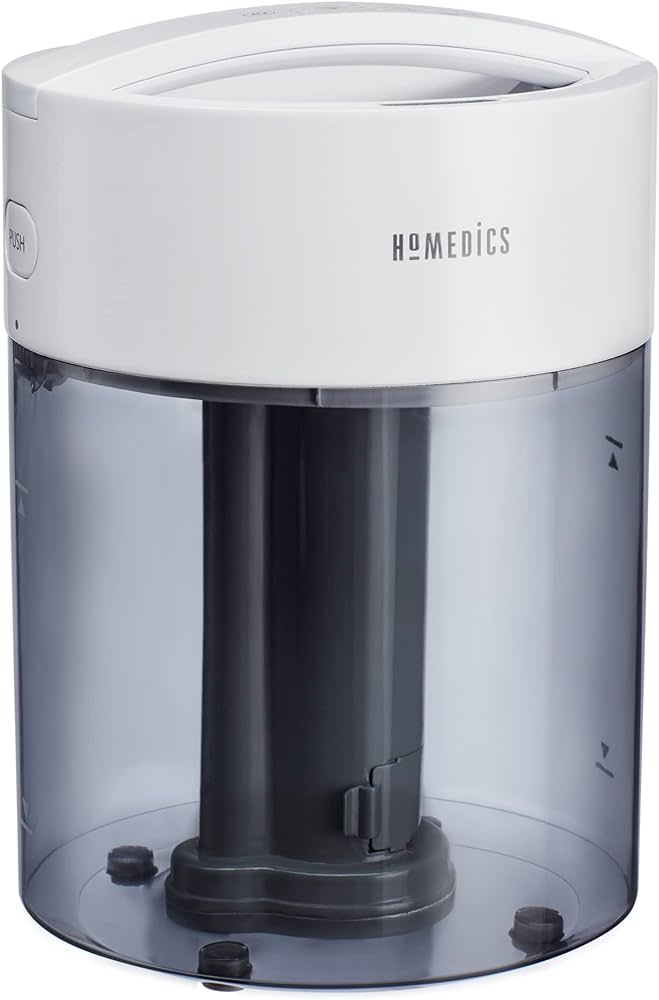
If your Homedics humidifier is leaking, first check for any cracks or loose connections. You can also troubleshoot the issue by ensuring the water tank is properly sealed before use.
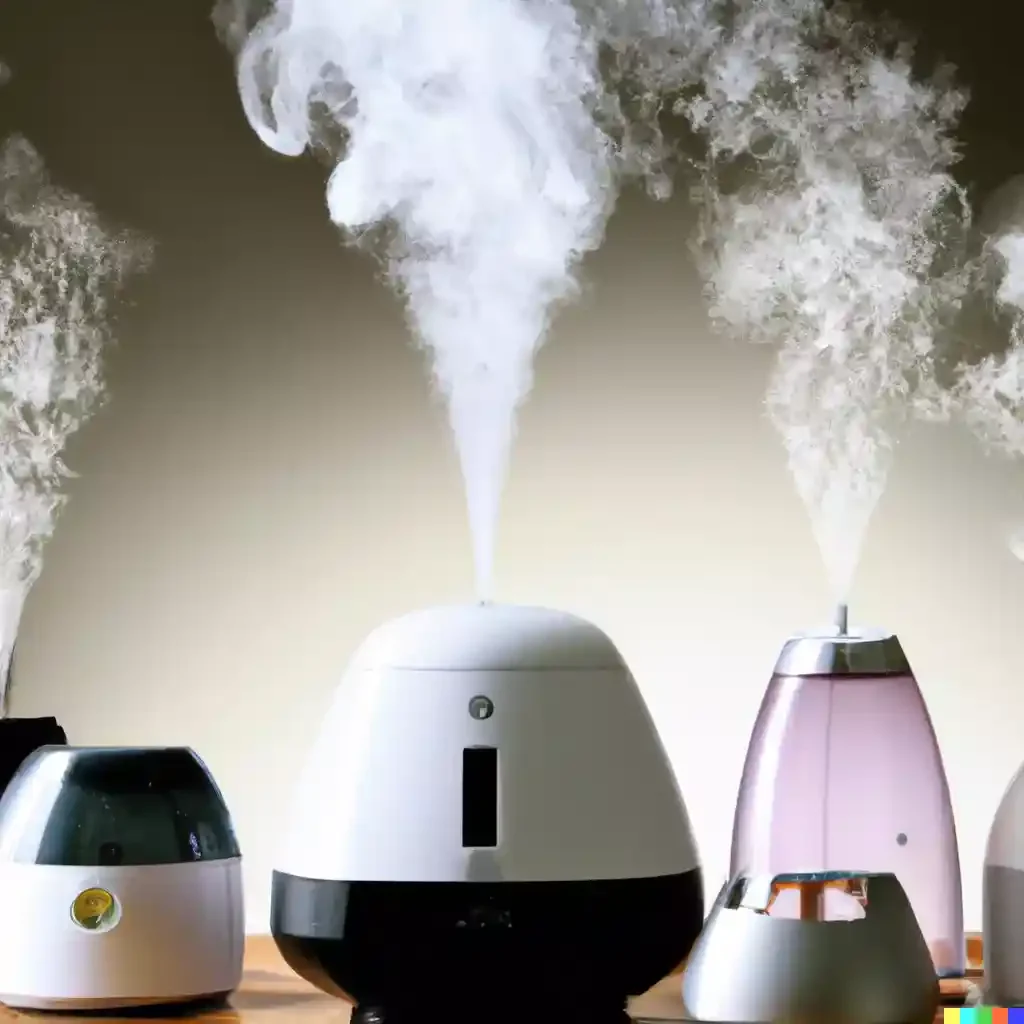
Maintaining the optimal humidity level in your home is crucial for your health and comfort. However, dealing with a leaking humidifier can be frustrating. Fortunately, there are several simple steps you can take to troubleshoot and fix this common issue.
We’ll discuss the potential causes of a leaking Homedics humidifier, as well as provide practical solutions to resolve the problem. By following these tips, you can enjoy the benefits of a properly functioning humidifier without any leaks or mess. Let’s dive in and explore how to address a leaking Homedics humidifier efficiently.
Understanding Homedics Humidifier Leakage
Identifying The Issue
If you find water pooling around your Homedics humidifier, it’s essential to address the issue promptly to prevent further damage and maintain the efficiency of your unit. Leakage can lead to water damage and may affect the air quality in your home.
Signs Of Leakage
There are several signs that your Homedics humidifier may be leaking:
- Water pooling around the base of the humidifier
- Dampness or moisture on adjacent surfaces
- Visible cracks or damage on the water tank or components
Potential Causes
Leakage in your Homedics humidifier can result from various factors:
- Loose or damaged water tank cap
- Cracked or defective water tank
- Improper assembly of components
- Worn out or damaged seals and gaskets
- Clogged or blocked water pathways
Troubleshooting The Homedics Humidifier
If you notice your Homedics humidifier leaking, it’s important to address the issue promptly to avoid any potential damage. Here are some essential troubleshooting steps to help you identify and resolve the problem efficiently.
Basic Inspection
Start by conducting a basic inspection to assess the overall condition of the humidifier. Look for any visible signs of leaks, cracks, or loose components that may be contributing to the issue.
Checking For Visible Damage
Inspect the exterior and interior of the humidifier for any visible damage, such as cracks or breaks in the housing or water tank. Pay close attention to the areas where leaks are occurring to pinpoint the source of the problem.
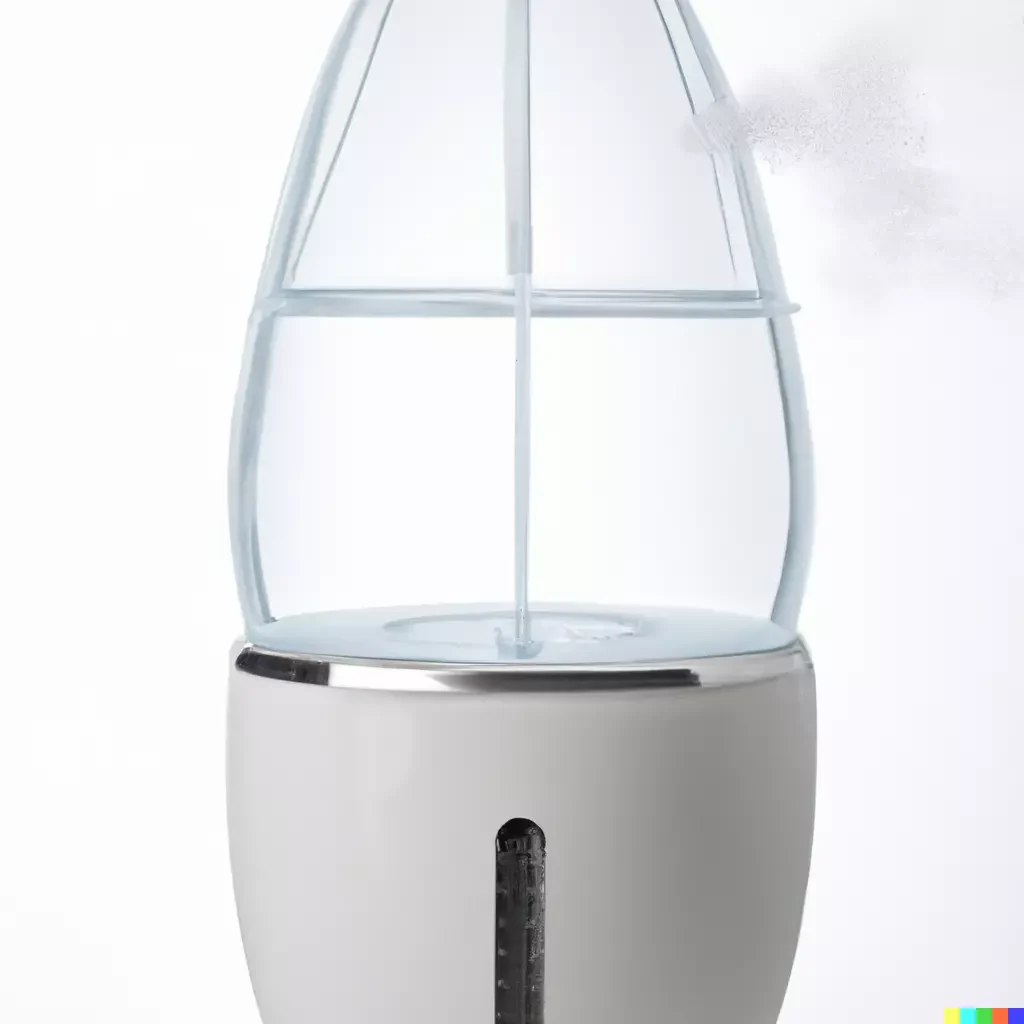
Examining The Water Tank And Components
Take a closer look at the water tank and its components to check for any potential issues. Ensure that the tank is securely in place and that the seal is intact. Examine the water inlet and outlet for any clogs or obstructions that could be causing leakage.
Fixing Common Leakage Problems
One of the most common issues with Homedics humidifiers is leakage, which can be quite frustrating if not addressed promptly. Fortunately, fixing common leakage problems can often be straightforward and doesn’t necessarily require professional assistance. In this guide, we will explore some of the common causes of leakage in Homedics humidifiers and how you can address them effectively.
Addressing Seal And Gasket Issues
Seals and gaskets are essential components of a Homedics humidifier, as they prevent water from leaking out. Over time, these seals and gaskets may wear out or become damaged, leading to leakage. Here’s how you can address these issues:
- Inspect the seals and gaskets for any signs of wear or damage.
- Clean the area around the seals and gaskets to ensure a proper seal.
- Apply a silicone-based sealant to reinforce the seals and gaskets if necessary.
Replacing Damaged Seals
If you notice that the seals or gaskets are beyond repair, it may be necessary to replace them entirely. Here’s a simple step-by-step process for replacing damaged seals:
- Turn off the humidifier and unplug it from the power source.
- Identify the location of the damaged seals or gaskets.
- Remove the old seals or gaskets carefully, ensuring that no residue is left behind.
- Install new seals or gaskets according to the manufacturer’s instructions.
- Test the humidifier to ensure that the new seals are effectively preventing leakage.
Tightening Loose Gaskets
Loose gaskets can also contribute to leakage in a Homedics humidifier. Here’s how you can tighten loose gaskets to address this issue:
- Identify the location of the loose gaskets.
- Carefully tighten the gaskets using the appropriate tools, ensuring not to overtighten them.
- Test the humidifier to confirm that the leakage has been resolved.
Resolving Overfilling And Blockages
Dealing with a leaking Homedics humidifier can be frustrating, especially if the cause is overfilling or blockages. However, understanding how to resolve these issues can save you time and prevent further damage to the humidifier. Here’s how you can address overfilling and blockages to keep your Homedics humidifier in smooth working condition.
Adjusting Water Levels
One common reason for a Homedics humidifier leaking is overfilling. Adjusting the water level to the recommended capacity can prevent this issue. Before refilling the tank, ensure it is completely empty and dry. Refer to the user manual for the specified water level and use a measuring cup to pour the appropriate amount of water into the tank. Avoid filling the tank beyond the maximum level to prevent leakage and ensure optimal performance.
Understanding Proper Water Filling
Properly filling the water tank is crucial for the efficient operation of the Homedics humidifier. To prevent leaks, always fill the tank away from the humidifier unit and on a flat, stable surface. Place the tank securely on the base and ensure a tight seal to prevent water from escaping. Following these steps can help maintain the integrity of the unit and reduce the likelihood of leaks due to improper filling.
Clearing Blockages And Debris
Blockages and debris in the Homedics humidifier can lead to leaks and reduced performance. Regular maintenance is key to preventing these issues. Clearing blockages and debris can be done by disassembling the unit according to the manufacturer’s instructions. Use a soft brush or cloth to clean the water tank, base, and any removable parts. This will help maintain optimal airflow and prevent leaks caused by blockages or debris accumulation.
Cleaning And Maintenance Tips
When it comes to maintaining your HoMedics humidifier, following proper cleaning and maintenance tips is crucial to ensure effective and efficient operation while preventing issues such as leaking, mold, and mineral buildup. By implementing regular cleaning procedures and using clean water and additives, you can prolong the life of your humidifier and maintain optimal air quality in your living space. Below are essential cleaning and maintenance tips to help you keep your HoMedics humidifier in top condition.
Preventing Mold And Mineral Buildup
Mold and mineral buildup can not only affect the performance of your HoMedics humidifier but also pose potential health hazards. To prevent these issues, it is essential to clean your humidifier regularly and use clean water and additives. Follow these tips to prevent mold and mineral buildup:
- Empty and clean the water tank daily to prevent the growth of mold and bacteria
- Use distilled or demineralized water to minimize mineral buildup, especially in hard water areas
- Consider adding a humidifier cleaning cartridge or using a vinegar solution to remove mineral deposits
Regular Cleaning Procedures
Regular cleaning of your HoMedics humidifier is crucial for maintaining its performance and preventing leakage. Follow these cleaning procedures to keep your humidifier in optimal condition:
- Disassemble the humidifier and clean all components thoroughly using mild soap and water
- Check and clean the filter regularly to ensure efficient air filtration
- Inspect for any signs of mold or mineral buildup and clean as needed
Using Clean Water And Additives
Using clean water and additives in your HoMedics humidifier can significantly impact its performance and lifespan. Consider the following tips for using clean water and additives:
| Tip | Description |
|---|---|
| 1 | Use distilled or demineralized water to minimize mineral buildup |
| 2 | Consider using a humidifier cleaning cartridge or a vinegar solution to remove mineral deposits |
| 3 | Replace the water in the tank daily to ensure cleanliness and prevent bacterial growth |
Professional Assistance And Warranty
Get professional assistance and warranty for your Homedics humidifier leaking issues. Our team is here to provide reliable solutions and ensure your humidifier functions smoothly. Don’t let leaks disrupt your comfort.
- Contacting Homedics Support
- Exploring Warranty Coverage
- Seeking Professional Repairs
Credit: www.homedics.com
Conclusion
Dealing with a leaking Homedics humidifier can be frustrating and inconvenient. However, by taking the necessary steps to identify and address the issue, you can enjoy improved air quality and a comfortable environment in your home. Remember, regular maintenance and timely troubleshooting can help prevent and resolve leaks effectively.
Frequently Asked Questions Of Homedics Humidifier Leaking
How Do I Stop My Homedics Humidifier From Leaking?
To fix this issue, check and tighten the water tank cap to ensure it’s properly sealed.
Why Is My Homedics Humidifier Leaking Water?
The leaking may be due to a loose water tank cap or a damaged seal. Inspect and address these issues.
What Should I Do If Water Is Leaking From My Humidifier?
Unplug the unit, empty the water tank, and inspect for any cracks or damage, focusing on the seal and tank connections.
Can A Faulty Water Tank Cause Homedics Humidifier Leaks?
Yes, a damaged or improperly positioned water tank can lead to leaking issues in your humidifier.
Is It Normal For All Humidifiers To Leak?
No, it is not normal. Leaking can be a sign of improper sealing, damaged parts, or incorrect assembly.