To make a humidifier, fill a bowl with water and place it near a heat source. Alternatively, dampen a sponge and leave it in a ventilated container.
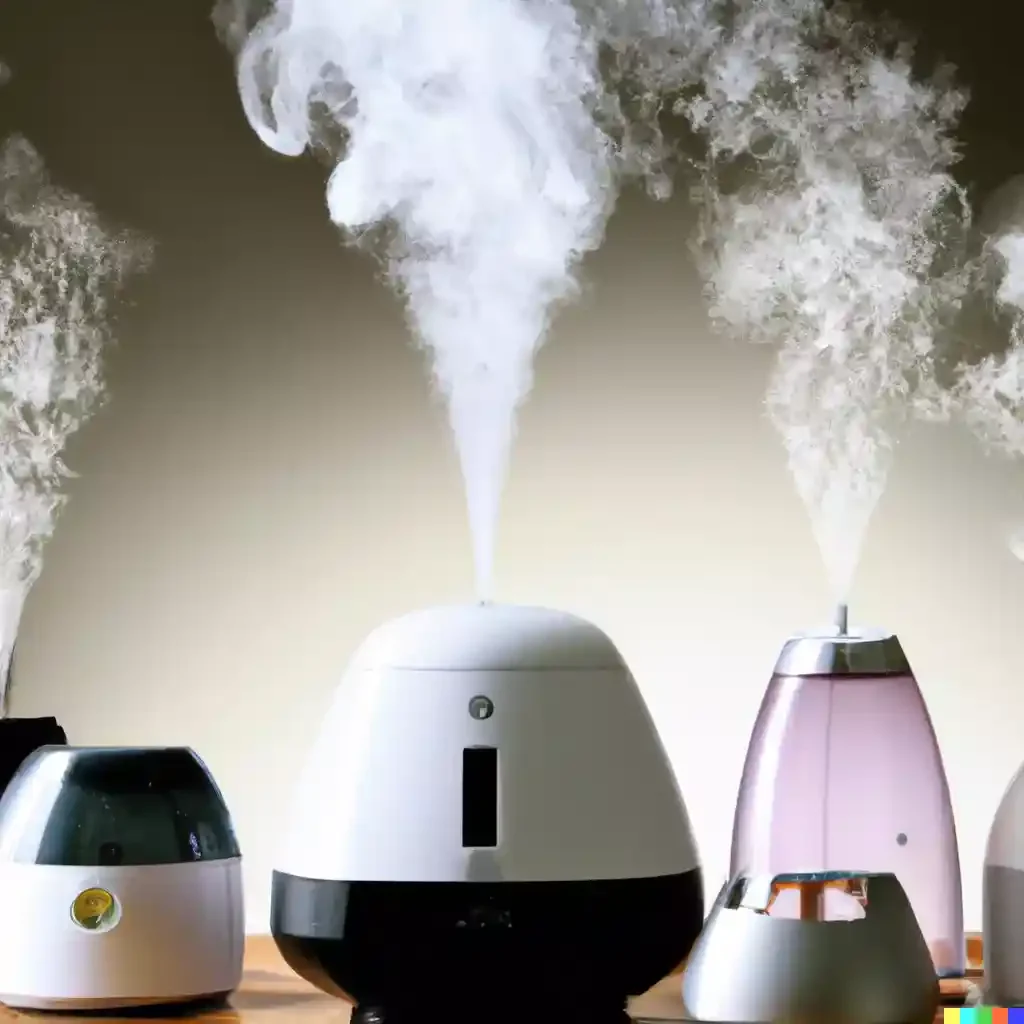
Creating a humidifier from household items is a straightforward process. Dry air can lead to various discomforts, such as dry skin and nasal congestion. A homemade humidifier can alleviate these symptoms by adding moisture to the air. This is especially useful during the winter months or in arid climates where electric humidifiers aren’t available or desired.
By using simple materials like bowls, sponges, or even plants, you can increase the humidity level in your home with minimal effort. These DIY solutions ensure a comfortable indoor environment, while also being cost-effective and eco-friendly. Keep reading for step-by-step instructions on how to create your own effective humidification system.
The Need For Humidity At Home
A balanced indoor climate is key for comfort and health. Dry air can lead to problems. It can bother skin and breathing. A humidifier adds moisture. It can make a house feel better. Let’s see why right humidity levels are a must at home.
Health Benefits Of Proper Indoor Humidity
Maintaining the right humidity levels indoors is a game-changer for wellbeing. Here are the benefits:
- Prevents Illness: Moist air helps to reduce the spread of flu.
- Soothes Skin: It prevents dryness, irritation, and itchiness.
- Alleviates Allergies: Proper humidity eases allergy symptoms.
- Helps Sleep: Breathing easier means better sleep quality.
- Preserves Furniture: Wood stays intact in correct humidity.
Signs Your Home Might Be Too Dry
Watch for these hints that you need a humidifier:
| Sign | What to Look For |
|---|---|
| Static Electricity | Shocks when touching metal objects or fabrics. |
| Dry Skin and Lips | Tightness, cracking, or flaking of the skin. |
| Respiratory Issues | Nosebleeds or a persistent cough without a cold. |
| Peeling Wallpaper | Walls look dry and wallpaper starts coming off. |
| Gaps in Wooden Floors | Planks shrink and gaps appear in flooring. |

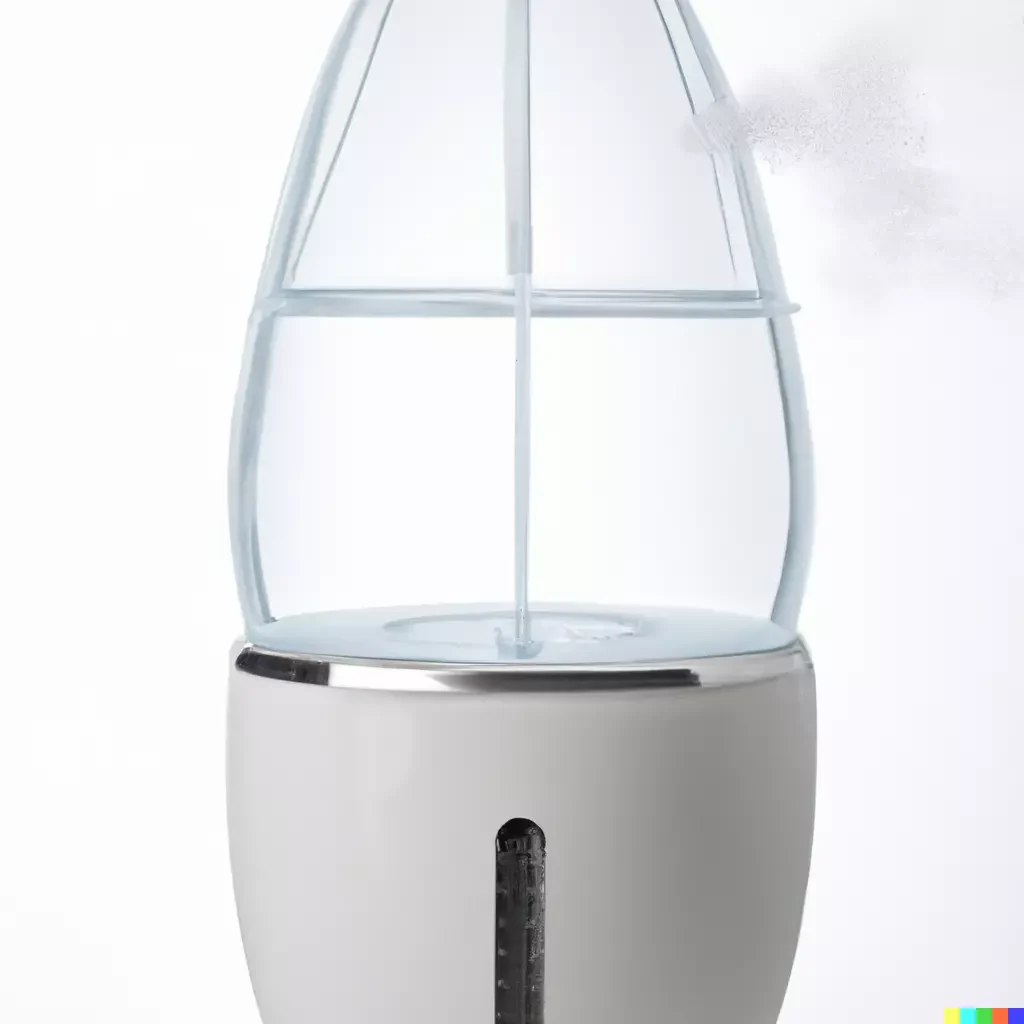
Credit: www.amazon.com
Materials You’ll Need
Embarking on your DIY humidifier project begins with gathering the right materials. A step that ensures your homemade device functions effectively and safely. Let’s jump into the essential items you need to build a humidifier from scratch.
Essential Components For A Diy Humidifier
Gather these key components:
- Water container – this will be the humidifier’s reservoir.
- Ultrasonic mist maker – converts water into vapor.
- Fan – to disperse the mist throughout the room.
- Power source – such as a USB cable or batteries.
- Filter (optional) – if you aim to purify the air as well.
These items form the core of your homemade humidifier, creating a simple yet effective moisture-adding apparatus.
Where To Find Affordable Materials
Now, let’s find these items without breaking the bank:
- Check online marketplaces like Amazon or eBay for deals.
- Visit local hardware stores; they often have competitive prices.
- Scour thrift stores or garage sales for usable second-hand components.
- Utilize coupons and discounts at craft stores for materials like containers.
- DIY communities online sometimes trade or sell parts cheaply.
With the right approach, you can source economical materials to build a reliable DIY humidifier.
Step-by-step Guide
Welcome to our step-by-step guide to making your own humidifier. This guide takes you through each phase of the process. You will learn how to assemble the base structure and ensure water dispersal and evaporation.
Assembling The Base Structure
Start with gathering all necessary materials:
- Container – A medium-sized bowl or plastic tub works well.
- Waterproof sealant – To prevent leaks.
- Grille or mesh – A covering to keep objects out.
Now, follow these steps:
- Apply waterproof sealant to the edges of the grille and attach it to the container opening.
- Let it dry completely before moving on.
- Check for leaks by filling the container with water.
- If all looks good, you’ve got your base!
Ensuring Water Dispersal And Evaporation
To turn your base into a working humidifier, follow these steps:
- Fill the base with cold water, but don’t overfill.
- Choose an absorbent material such as a sponge or cotton wick.
- Insert the material into the water to soak completely.
- Position the material to allow air contact – this is where evaporation happens.
- For additional evaporation, use a fan to blow air over the wet material.
Tip: Change the water regularly to promote fresh and clean moisture output.
Maintaining Your Diy Humidifier
Once you have your DIY humidifier set up, keeping it clean is key. Regular maintenance prevents mold, bacteria, and ensures optimal performance. Let’s discuss simple yet effective ways to keep your humidifier in top shape.
Cleaning And Hygiene Tips
Keep your DIY humidifier spotless with these steps:
- Empty and refresh the water daily.
- Disinfect weekly with a mix of vinegar and water.
- Use a soft brush to clean hard-to-reach areas.
- Rinse thoroughly to remove any cleaning solution residues.
- Air dry components before reassembling.
Troubleshooting Common Issues
Sometimes, problems may arise. Don’t worry! Here’s how to fix them:
| Issue | Solution |
|---|---|
| Weak Mist Output | Check for clogs and clean the nozzle. |
| No Mist at All | Ensure the fan is working and the water level is adequate. |
| Unpleasant Smell | Clean thoroughly and replace the water with fresh distilled water. |
Advanced Diy Techniques
Advanced DIY Techniques take your homemade humidifier to the next level. These methods blend modern technology with creative crafting. You’ll discover how to make a humidifier smarter, more efficient, and self-regulating. Perfect for tech enthusiasts and seasoned DIYers, these tips will enhance air moisture with a personal touch.
Incorporating Ultrasonic Technology
Ultrasonic technology is a game-changer for humidifier efficiency and whisper-quiet operation. Here’s how to build it:
- Secure an ultrasonic mist maker module.
- Find a waterproof container for the module.
- Connect the module to a power source.
- Place in water and watch the mist rise.
The ultrasonic vibrations create micro-fine mist without heat. The result is a safe and energy-saving humidifier.
Automating Your Humidifier With Timers And Sensors
Automation ensures your humidifier works only when needed, saving time and power.
Follow these steps for automation:
- Integrate a timer to set humidifying schedules.
- Add humidity sensors to detect moisture levels.
- Wire the system to turn on or off automatically.
With automation, enjoy perfect humidity without constant checks. It’s ideal for hassle-free humidification.
| Part | Function |
|---|---|
| Timer | Sets operation schedule |
| Hygrometer (Sensor) | Measures moisture level |
| Control Circuit | Manages power supply |
Comparison With Commercial Humidifiers
Exploring DIY humidifier solutions sparks interest in many creative minds. But how do they stack up against store-bought options? This crucial comparison will guide you through when to craft your own moisture magic or invest in a professional model. Let’s weigh the pros and cons.
Pros And Cons Of Homemade Vs Store-bought
Crafting a homemade humidifier can be both fun and budget-friendly. You might find items right at home to begin! Yet, store-bought varieties often offer advanced features and reliability. To help decide, consider the following:
| Aspect | Homemade Humidifier | Store-Bought Humidifier |
|---|---|---|
| Cost | Less expensive. Usually uses common household items. | More expensive, but varies with models. |
| Complexity | Simple to create, limited features. | Range of options with various settings and features. |
| Efficiency | May not evenly distribute moisture. | Designed for even distribution and optimal humidity levels. |
| Maintenance | Varies, but may require frequent cleaning or checks. | Manufacturer instructions provided; often includes filters. |
| Longevity | May not last long; quality varies. | Typically lasts longer with warranty options. |
When To Consider A Professional Solution
Deciding between a DIY project and a commercial humidifier is crucial. Use an at-home solution for a quick fix or a small space. It’s perfect for temporary relief. For consistent humidity control, opt for a commercial unit. These are ideal for larger spaces or health reasons. Know your needs to make the best choice.
- Short-Term Use: Go DIY for temporary situations.
- Small Rooms: Homemade solutions can work well.
- Health Needs: Choose professional for specific humidity levels.
- Long-Term Solution: Commercial units are more reliable over time.
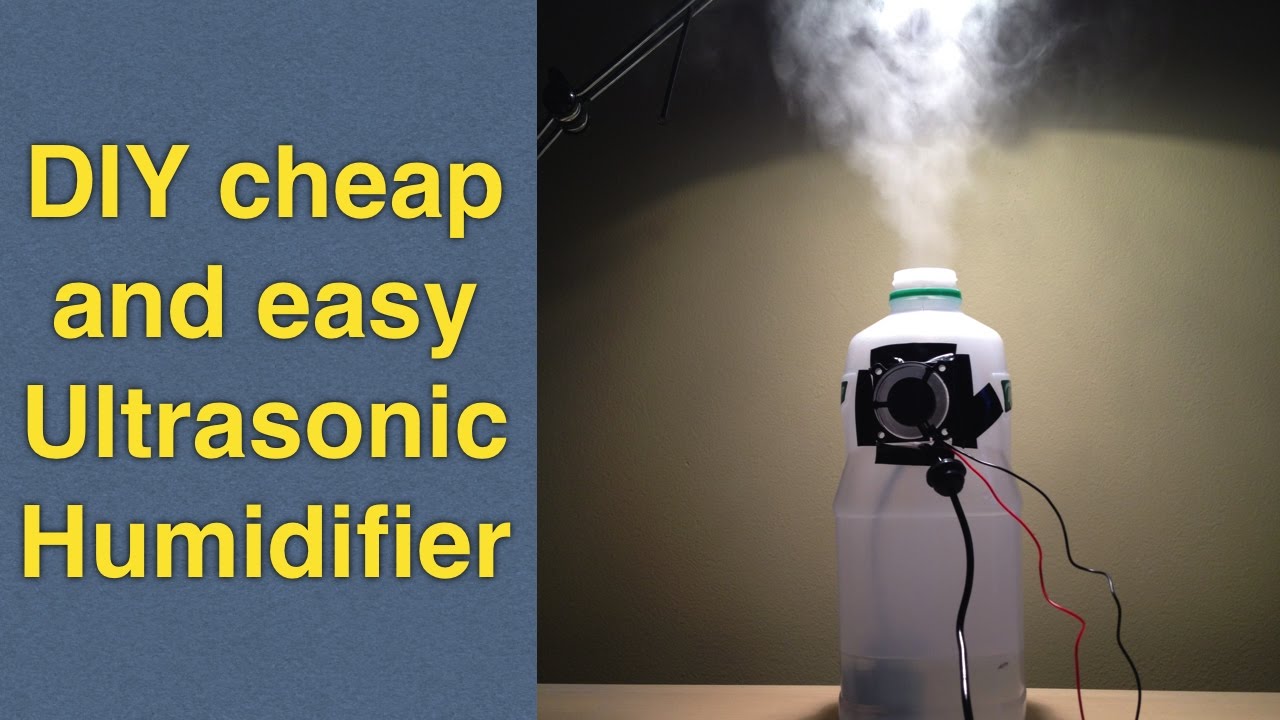
Credit: m.youtube.com
Frequently Asked Questions On How To Make A Humidifier
How Can I Make A Homemade Humidifier?
To make a homemade humidifier, fill a bowl with water and place it on a heat source, like a radiator. Alternatively, hang wet towels near a heat source or use a fan to blow air over a damp cloth.
How Can I Humidify My Room Without A Humidifier?
Place bowls of water around the room to increase humidity. Keep indoor plants, which release moisture through transpiration. Boil water on the stove for a quick humidity boost. Drape wet towels over chairs or radiators. Open the bathroom door after showers to let steam escape.
What Can I Use Instead Of A Humidifier?
You can use bowls of water, wet towels, indoor plants, or a DIY evaporative setup as alternatives to a humidifier. Engaging in activities like air-drying laundry indoors can also increase humidity.
Does Leaving A Bowl Of Water Humidify A Room?
Yes, leaving a bowl of water in a room can help increase humidity as the water slowly evaporates.
Conclusion
Crafting your own humidifier is simpler than you may think. With the steps outlined, you can enhance your indoor air quality effortlessly. Remember, regular cleaning is key to prevent mold. Ready to breathe easier? Embrace this DIY project and feel the comfort of balanced humidity.